Design a Tiny House Floor Plan That Actually Works for Your Life
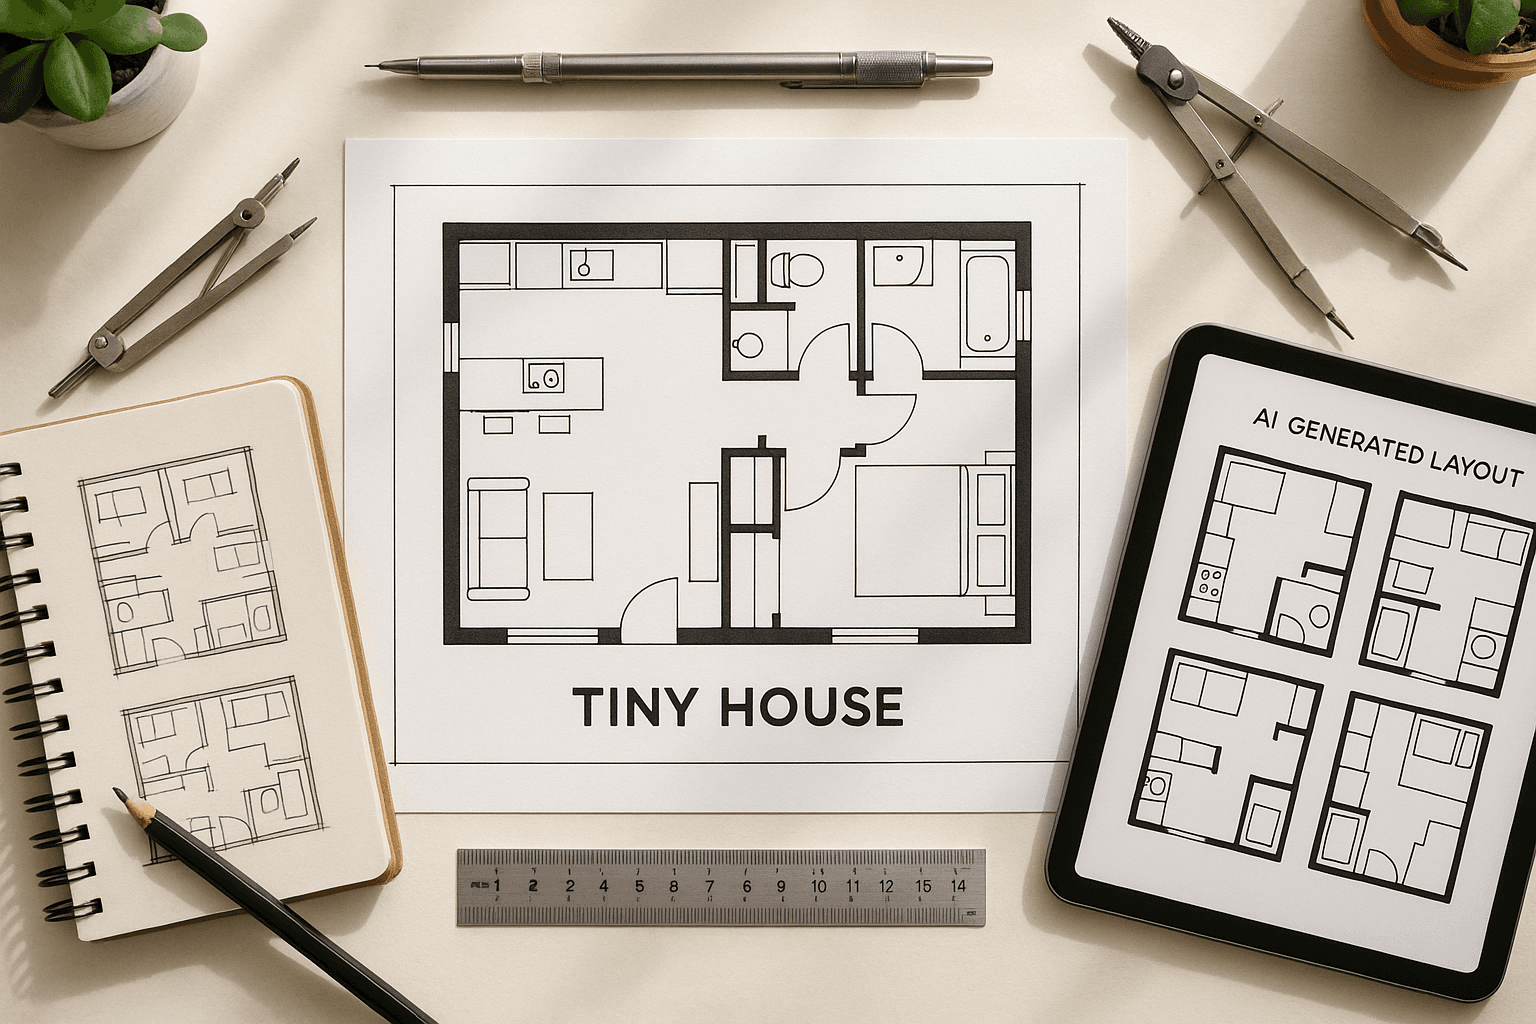
Design a Tiny House Floor Plan That Actually Works for Your Life
Most tiny house floor plans fail because they're designed for Instagram—not for how you actually live. A plan that works matches your morning routine, gives every belonging a real home, and creates flow paths that don't make 200 square feet feel cramped.
Here's the step-by-step process to design a floor plan around your life, not generic tiny house trends.
Start with reality: tiny house constraints
Before sketching anything, ground your design in real limits.
Size matters (and drives everything else)
| Type | Size range | Planning reality |
|---|---|---|
| THOW (Tiny House on Wheels) | 120–400 sq ft | Must respect trailer length + weight |
| Full-time sweet spot | 200–300 sq ft | Room for real kitchen + bath + flexible zones |
The 8.5-foot rule
Most road-legal trailers max out at 8.5 feet wide. That single dimension is why hallways can't waste space, door swings become critical, and every square foot counts.
Flow needs space to breathe
- 30–36 inches for main paths
- 24 inches minimum at pinch points
- Clear sight lines make small spaces feel bigger
Smart move: Use TinyHouses' AI designer to set your trailer size limits upfront. Generate layouts that respect real constraints instead of pretty-but-impossible floor plans.
Step 1: Map your actual day
Your best floor plan is a map of your habits.
The 15-minute routine audit
Write quick answers for weekdays and weekends:
- Morning: Coffee ritual? Shower timing? Need bathroom access without waking your partner?
- Work: Home office? Video calls? Dual monitors? Quiet space needs?
- Cooking: Quick meals or daily cooking? Prep space requirements?
- Evening: How do you unwind? Where do you sit?
- Gear storage: Bikes, climbing equipment, musical instruments, pet supplies?
Turn routines into floor plan requirements
- "WFH 40 hours/week" = dedicated desk + cable management + natural light
- "Two mountain bikes" = exterior locker or vertical bike wall
- "Night bathroom trips" = avoid ladder-only loft access
- "Daily cooking" = real prep counter + pantry storage
Try this now: Input your lifestyle into TinyHouses' AI designer. Get floor plan options that match how you actually live—not generic tiny house layouts.
Step 2: Choose your trade-offs intentionally
Every "yes" in a tiny house costs something else. Win by choosing your trade-offs on purpose.
The three lists method
- Must-have: Deal-breaker if missing
- Strong preference: Worth sacrificing for
- Nice-to-have: Only if it fits naturally
Common tiny house trade-offs
| Choose this | You gain | You give up |
|---|---|---|
| Loft bedroom | More main-floor space | Easy night access + headroom |
| Main-floor bed | Accessibility + comfort | Open living area |
| Stairs vs ladder | Safety + storage in steps | Floor space |
| Wet bath | Space efficiency | Shower comfort |
| Full kitchen | Daily cooking joy | Lounge/work space |
Design hack: Generate two TinyHouses layouts—one maximizing your #1 priority ("storage-first") and another for your #2 ("open-feel"). Comparing them makes trade-offs visible.
Step 3: Create zones, not rooms
Tiny houses feel spacious when you design zones that flow together.
Start with bubble diagrams
Sketch five connected bubbles:
- Entry/drop zone
- Kitchen/pantry
- Living/dining
- Sleep zone
- Bath/hygiene
Adjacency rules that reduce friction
- Kitchen near entry → groceries land easily
- Work zone near windows → natural light prevents claustrophobia
- Bath not opening into kitchen → comfort and air quality
- Sleep zone needs ventilation → better rest in small volumes
Multi-mode spaces (the tiny house multiplier)
Instead of adding square footage, add functions:
- Dining table → workspace
- Sofa → guest bed
- Stairs → storage drawers
- Entry bench → shoe storage
TinyHouses advantage: Set priorities like "work-from-home," "entertaining," or "family-friendly" and compare AI-generated zoned layouts side-by-side.
Step 4: Do the storage math
"Add more cabinets" isn't a plan. Count what you own, then design homes for each category.
The moving box method
Use standard moving boxes as measuring units:
- Small/medium box ≈ 2–3 cubic feet
- Count boxes needed per category
Categories people forget (and regret)
- Seasonal clothes and gear
- Cleaning supplies and tools
- Paper goods (toilet paper, towels)
- Pet food and supplies
- Outdoor items (camp chairs, hoses, leveling blocks)
- Work equipment (printer, files, cables)
Convert to storage specifications
Instead of "clothes storage," specify:
- "15 hanging items (work clothes + jackets)"
- "Two suitcases + one carry-on"
- "Seven days of pantry + bulk staples shelf"
- "18-gallon tool bin"
High-performance storage locations
- Stair drawers (if choosing stairs over ladder)
- Toe-kick drawers under kitchen cabinets
- Dining bench storage
- Loft knee-wall cabinets
- Tall pull-out pantry
- Exterior storage locker
Storage planning: Add your gear categories to TinyHouses' design tool. The AI suggests built-in storage features and helps spot items without homes before you build.
Step 5: Design circulation that doesn't feel tight
Good zoning can still feel cramped if the flow is wrong.
The 5 critical paths
Draw these routes on your floor plan:
- Entry → kitchen (groceries)
- Bed → bathroom (night trips)
- Kitchen work triangle (sink → prep → cook)
- Two-person pass points
- Trash and laundry flow
Clearance guidelines
- 30–36 inches for main routes
- 24 inches acceptable at pinch points
- Watch door swings—they steal walkway space instantly
The pocket door fix
Replace swing doors with sliding or pocket doors at:
- Bathroom entry
- Bedroom dividers
- Closets
- Storage areas
You gain usable circulation without adding square footage.
Flow check: When comparing TinyHouses AI layouts, prioritize plans where your daily paths feel clear—even if they're less photogenic.
Step 6: Place the expensive stuff (kitchen, bath, systems)
Hard points cost money to move later. Get them right.
Kitchen planning benchmarks
- 24-inch depth for counters
- 6-foot minimum prep run for daily cooking
- Galley works in narrow spaces; L-shaped gives more prep area
Bath: wet vs. dry trade-offs
- Wet bath: Shower and toilet share waterproofed space (saves room, needs ventilation)
- Dry bath: Separate zones (more comfort, more space)
Loft decisions: ladder vs. stairs
- Ladders save floor space but create friction (night trips, carrying items)
- Stairs consume footprint but add safety and storage potential
THOW weight distribution
For houses on wheels, heavy items (water tanks, batteries, appliances) affect axle loading. Most builders prefer weight near the axle area—confirm with your builder.
Builder connection: Share your TinyHouses layout with marketplace builders for advice on systems placement, weight distribution, and local code compliance.
Step 7: Stress-test with real scenarios
A good floor plan survives a messy Tuesday.
Day-in-the-life scripts
Walk through these scenarios:
- Rainy entry: Where do wet coats and muddy boots go?
- Cooking dinner: Where does prep happen? Dish drying?
- Work video call: Can your partner move without appearing on camera?
- Night bathroom: Is the path safe and clear?
- Laundry day: Where's the hamper? Drying rack?
- Guest visit: Where do they sleep? Store bags?
If any step feels awkward, adjust the zones or storage placement.
The iteration rule
Don't chase perfection. Generate 3–5 strong options, test them with real scenarios, and pick the one with least daily friction.
Testing advantage: TinyHouses lets you generate multiple variants from the same inputs. Save your favorites, share with family for feedback, then request builder quotes for the winner.
Common layout mistakes (and specific fixes)
No entry landing zone
Problem: Shoes, coats, and bags take over the house. Fix: Entry bench with shoe storage, hooks, and overhead shelf.
Loft-only sleeping with dangerous night access
Problem: Bathroom trips become risky and disruptive. Fix: Stairs with handrails, clear lighting, or main-floor sleep option.
Too many swing doors
Problem: Door arcs steal circulation and create pinch points. Fix: Pocket doors for bath, sliding doors for closets, curtains for soft separation.
Instagram kitchen with no pantry
Problem: Counter clutter becomes permanent. Fix: Tall pull-out pantry, under-bench storage, or dedicated bulk storage.
Dead corners (especially L-kitchens)
Problem: Lost space you can't reach. Fix: Corner drawers, lazy Susan, or diagonal cabinet access.
Workspace as afterthought
Problem: Working on bed or table means the house never resets. Fix: Fold-down desk with cable management or dedicated work corner.
Storage in wrong zones
Problem: You have cabinets, but items aren't near where you use them. Fix: Put cooking storage by prep area, cleaning supplies near bath/kitchen, outdoor gear at entry.
Quick decision guides
Loft vs. main-floor bedroom
Choose loft if: You're comfortable climbing, want maximum living space, sleep well with lower ceilings. Choose main-floor if: You want accessibility, easy night bathroom access, plan to age in place.
Best layout for couples
Prioritize clear pass points, two seating/standing spots, and defined zones so you're not always in each other's way.
Walkway width
Target 30–36 inches where possible, accept 24 inches at pinch points if the overall plan is strong.
Real shower + composting toilet
Often achievable with wet bath design, pocket doors, and proper ventilation. Confirm system requirements with your builder.
A process beats perfection
Design in this order: routines → must-haves → zones → storage math → circulation → hard points → stress-test → iterate.
TinyHouses streamlines this exact workflow. Enter your lifestyle and storage needs, generate multiple AI layout options, compare trade-offs, and connect with builders worldwide for quotes and local expertise.
Ready to design your space? Try TinyHouses' AI floor plan generator and see how your daily life translates into a layout that actually works: tinyhouses.to/design
FAQ
How many floor plans should I explore? At least 3–5 variants. Tiny houses are all trade-offs—comparing storage-max vs. open-feel vs. work-first helps you choose intentionally.
What makes tiny houses feel cramped? Bad circulation and missing "reset points" (entry drop zone, homes for daily items). Two identical square footages can feel completely different.
How do I plan storage without exact dimensions? Use "homes for things" counts plus moving-box volume estimates. Assign each category to the right zone.
What about utilities and systems? Treat them as hard points early, especially weight distribution in THOW. Work with builders to validate placement and local compliance.
Full-time vs. weekend priorities? Full-time: storage math, comfortable systems, work zones. Weekend: simpler systems, flexible spaces, gear storage.